If you’re reading an article about how to clean a night guard, bravo! That probably means you’re wearing it. Trust me, I’ve seen it all. As a TMJ dentist, it’s always suspicious when I see a mouth guard that looks a little too spotless. It inevitably leads me to think either this person is miraculous at cleaning mouth guards, or maybe they just haven’t worn it.
People wear mouth appliances for a number of reasons from teeth grinding to sports protection. Studies estimate that at least 20% of the population grind there teeth and 12% of the population has severe TMJ disorder symptoms. That’s alot of people with appliances in their mouth.
This article will tell you everything you need to know about how to clean a night guard or mouth guard. I’ll also give you some inside tips for helping it to last long term. And right upfront, you don’t need to invest in any specific night guard cleaner. There are simple things you can do at home to keep it safe and feeling fresh.
Steps of How to Clean a Night Guard
Okay so right up front, it’s not as complicated as it seems. When I wrote “steps of how to clean a night guard” as the heading for this section, I thought, wow that sounds like its way more complicated than it is. In reality, cleaning a mouth guard is done by maintaining simple habits. Here’s what I recommend about mouth guard cleaning:
Rinse the Night Guard After Wearing
After wearing your mouth guard, rinse it with warm water as soon as you take it out. This will prevent minerals from the saliva from accumulating on the night guard.
Brush the Mouth Guard With a Toothbrush
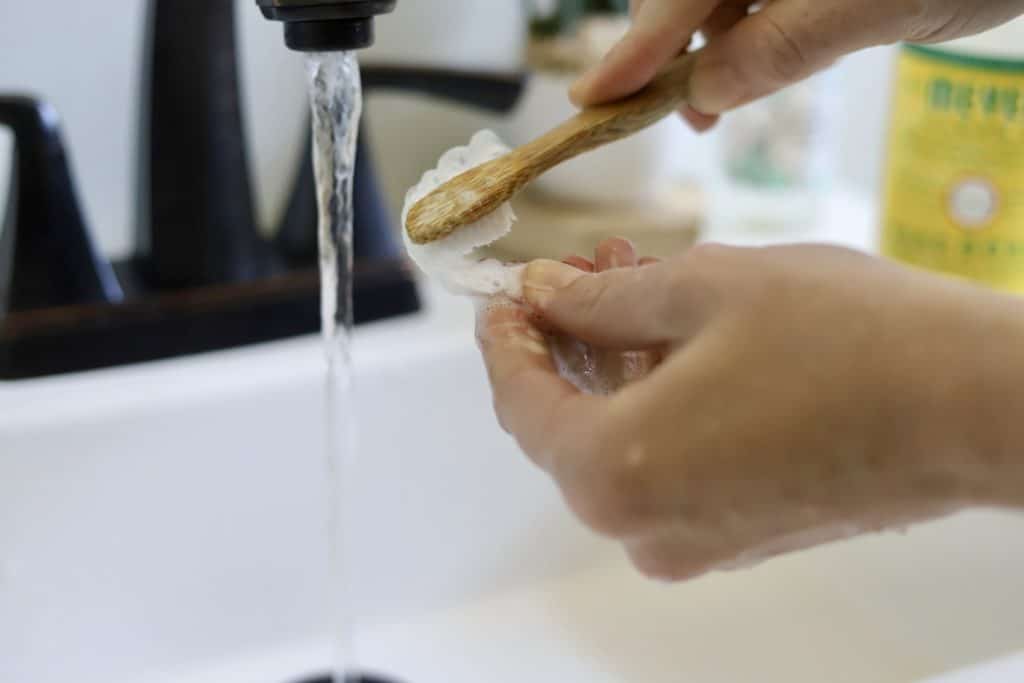
After rinsing, give your night guard a light brushing with a toothbrush. Soft bristle brushes are best to prevent wear of the material. You can do this every time you wear it or every few times you wear it
The toothbrush you use can be your usual toothbrush or a dedicated toothbrush for cleaning your mouth guard. You may brush the night guard with soap/water or just water. It is okay to use toothpaste for night guard cleaning but use it sparingly. It can wear the surface over time.
Lightly Dry Your Mouth Guard
There’s some articles on the internet that recommend thoroughly drying the mouth guard by leaving it out in open air on a countertop. It’s not necessarily wrong, but not exactly needed. The thinking is that moisture can lead to bacteria or fungal growth. However, in reality, cleaning the mouth guard as recommended, and doing a deep clean occasionally (more on that later) is enough to prevent any bacteria growth. Leaving the mouth guard out on a countertop seems to put it at risk for contamination by other things splashing on it and puts the appliance at risk for dropping it.
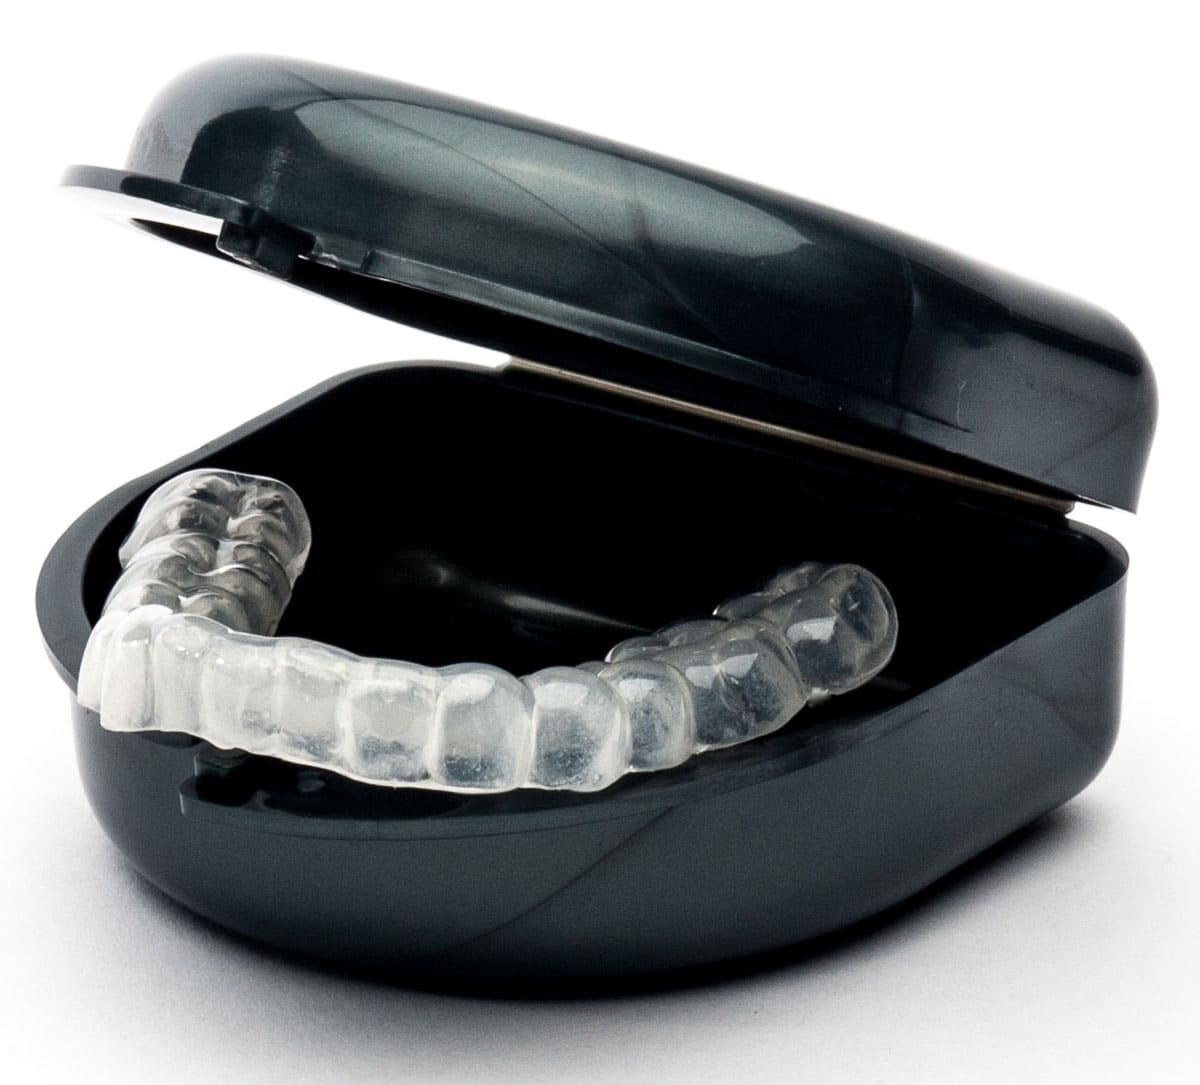
A Hard Protective Case is the Best Friend of a Clean Night Guard

Always keep your mouth guard stored in a hard case. Why does that matter? You may think that’s because of humidity from the bathroom that causes it to warp, but nope. The mouth certainly has plenty of humidity and doesn’t cause any warping of the material.
The reason is to eliminate dropping the night guard.
The most common complication with a mouth guard is that people are prone to dropping them. It makes sense. You’re handling a wet, slippery mouth guard when you’re half asleep in the morning. Do yourself a favor. Keep the night guard in a case which protects it, and decreases the chances of fishing around in a medicine cabinet for a loose night guard.
Deep Clean Your Night Guard Weekly
Make a habit of deep cleaning your night guard at least once a week. Go to your local pharmacy, big-box store, or online retailer. Pick up an over the counter denture cleaner. An example is called Efferdent. Studies show that using a denture cleaner regularly reduces plaque accumulation on appliances.
I say that with one caveat. If you have an over the counter night guard, check with the instruction manual to make sure the material is compatible with denture cleaners. If you have a custom made mouth guard, check with your dentist to confirm any specific contraindications.
Deep cleaning a mouth guard can also greatly reduce any scents or strains that build upon the appliance. If your mouth guard has developed an odor or just doesn’t feel fresh, a denture cleaner can make it feel clean again.
Simply place your night guard in a glass or bowl with semi-warm water. Allow the cleaner to dissolve and fizz in the water which usually completes in 2 minutes. Voila! That’s all.
At-Home Concoctions for Deep Cleaning a Night Guard
People are mad scientists. I’ve seen online that there are recommendations for at-home denture cleaning solutions. I will note them here, but use them at your own risk. I really don’t advise these methods as they are more likely to stain or degrade the mouth guard.
At Home Night Guard Cleaner: Vinegar and Hydrogen Perioxide
Soak the night guard in distilled white vinegar for at least 30 minutes. After soaking, rinse the night guard and the bowl with water. Then soak the night guard in hydrogen peroxide for at least 30 more minutes. Once finished, thoroughly rinse with water.
At Home Mouth Guard Cleaner: Mouthwash
Pour a capful of mouthwash into a glass or bowl and then dilute with water until the night guard is submerged in the solution. Be careful to select a mouthrinse with minimal coloring that may stain the appliance. Let your night guard soak for about 30 minutes. Thoroughly rinse the night guard.
Don’t Forget to Clean the Mouth Guard Case
Over time the protective case of the mouth guard can also collect germs. Keep the case clean by hand washing it with regular dishwashing detergent. A good timeline cleaning your mouth guard case is weekly. After washing, dry the case to reduce bacteria growth. Plastic night guard cases do wear out over time, and may need to be replaced if it isn’t closing properly.
Bring Your Night Guard to Your Dental Appointments

Try to get in the habit of bringing your night guard or mouth guard to dental appointments. Your dentist may want to check it to make sure it is fitting properly. If you are having any dental treatment like fillings or crowns, it might change the way the night guard fits. Your dentist often can adjust the appliance so that it fits after the treatment. In some cases, dental practice may offer to professionally clean your night guard as a courtesy during your regularly scheduled hygiene visits.
Cleaning Mouth Guard: The Conclusion
Gosh, that seems like a lot of steps. I thought I was taking a break and writing a simple article today. Cleaning your night guard properly may sound like a lot of steps, however, with time the steps of how to clean a night guard become automatic and habitual. Once you get in the routine of maintaining your appliance you won’t think much about it, and it will help you to have a long-lasting mouth guard.
In conclusion, I’d like to leave you with a couple of tips. These are common mistakes that people make and it is my hope to help you navigate them.
Pro Tip #1: Dishwashers: Avoid placing the case in the dishwasher as the high temperature may melt or warp the plastic.
Pro Tip #2: Pets: Cats and dogs love mouth guards. Think about it. They can pick up even the slightest scent of food on the mouth guard. Always keep your case off the counters to avoid your pet helping themselves to a chew toy.
Pro Tip #3: What to do if your Mouth guard isn’t Helping: Mouth guards treat a number of conditions like teeth grinding, clenching, TMJ symptoms, and sports protection. If you’re not having improvement from your mouth guard, call your dentist. If you want to understand more about how mouth guards work to reduce the symptoms of grinding and TMJ disorder, you can read more here. The summary is: often mouth guards are not designed to be one and done. They require fine-tuning and adjustments to achieve the ideal result. Don’t be shy to discuss with your dentist or TMJ specialist.


